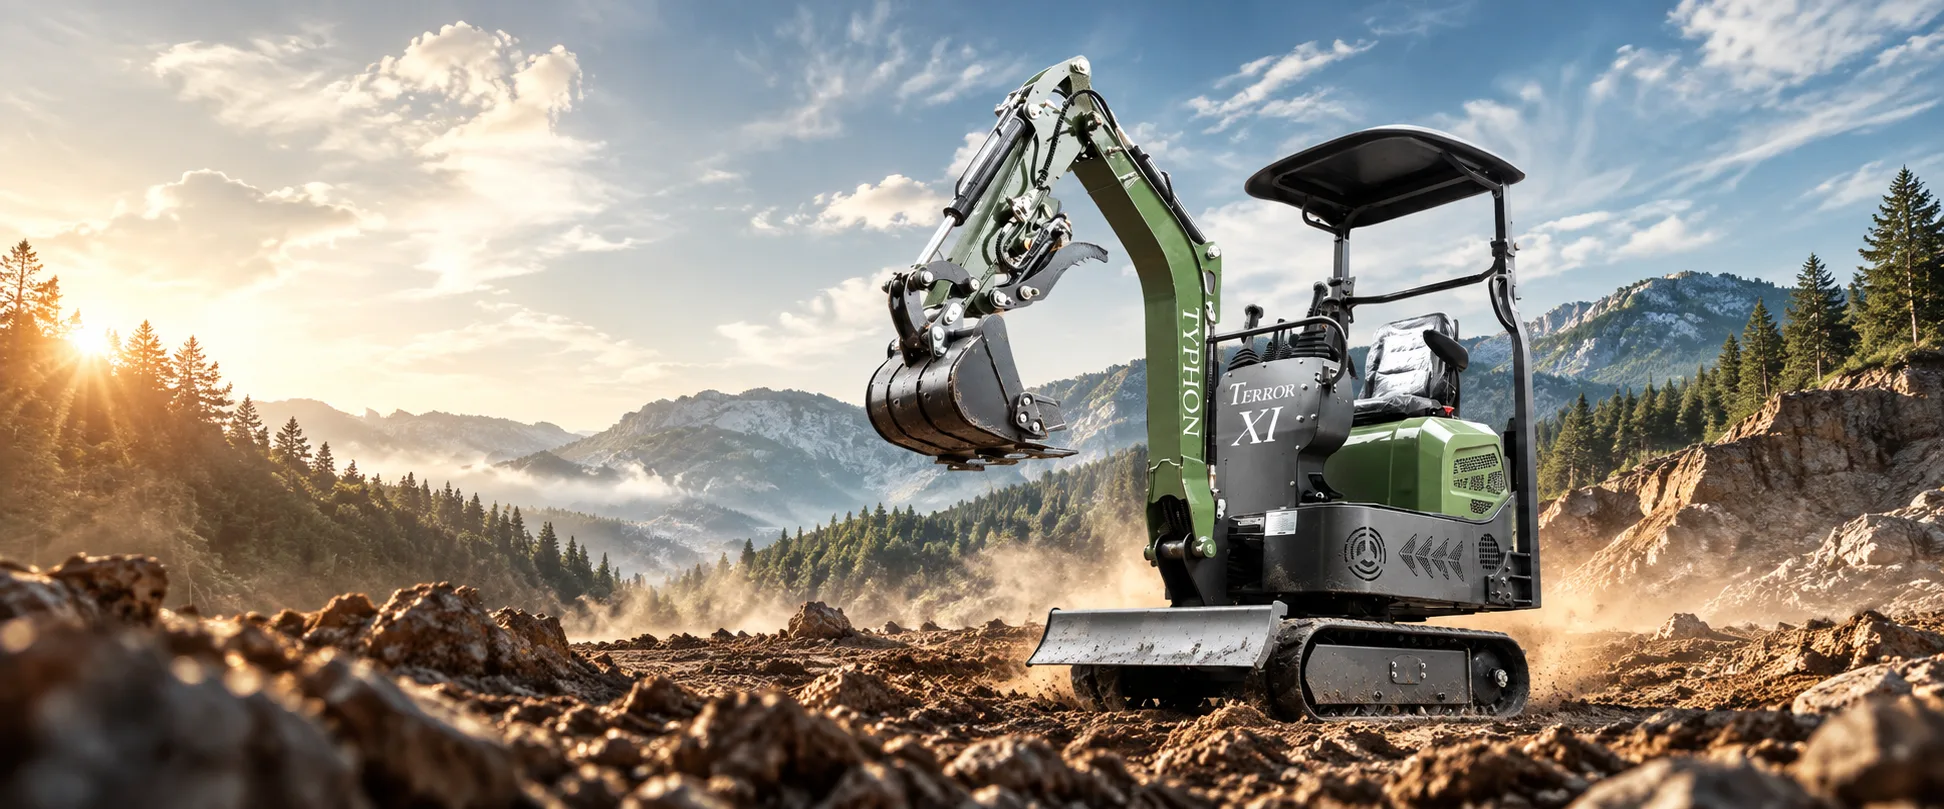
Mini Excavator Attachments Guide: 11 Tools for More Jobs with TERROR XI STORM
A mini excavator becomes much more useful when the attachment at the end of the arm matches the job. That sounds obvious, but it is where many buyers make the most expensive mistake: they choose tools because the attachment looks powerful rather than because it solves a frequent task. A better mini excavator attachment strategy starts with the work you expect to repeat. If most of your jobs are drainage trenches, a narrow bucket may earn more use than a breaker. If you maintain acreage, a grapple or rake can be more valuable than another digging bucket. If fencing and planting are common, an auger can remove hours of manual labor. This guide explains eleven attachment types in the Minexcavator.com resource set and shows how to think about them as a working system around the TYPHON TERROR XI STORM.
Before choosing a setup, review the TERROR XI equipment page, compare the available attachments, and use the application resource to match the machine and tools to the work you actually plan to perform.
Start with the job, not the attachment catalog
The strongest attachment package is usually smaller than buyers expect. Begin by writing down the five jobs that appear most often on your property or in your customer work, then identify the tool required for each stage. A drainage project may need a narrow bucket for the trench, a plain bucket for moving spoil, and a tilting bucket or rake for finish work. A fence-line project may use a ripper in hard soil, an auger for holes, and a grapple for clearing branches. This job-first method prevents duplicate purchases and makes attachment changes purposeful. It also helps you identify whether a quick coupler belongs early in the package because the benefit of faster changes increases as the number of tools used on one job increases.
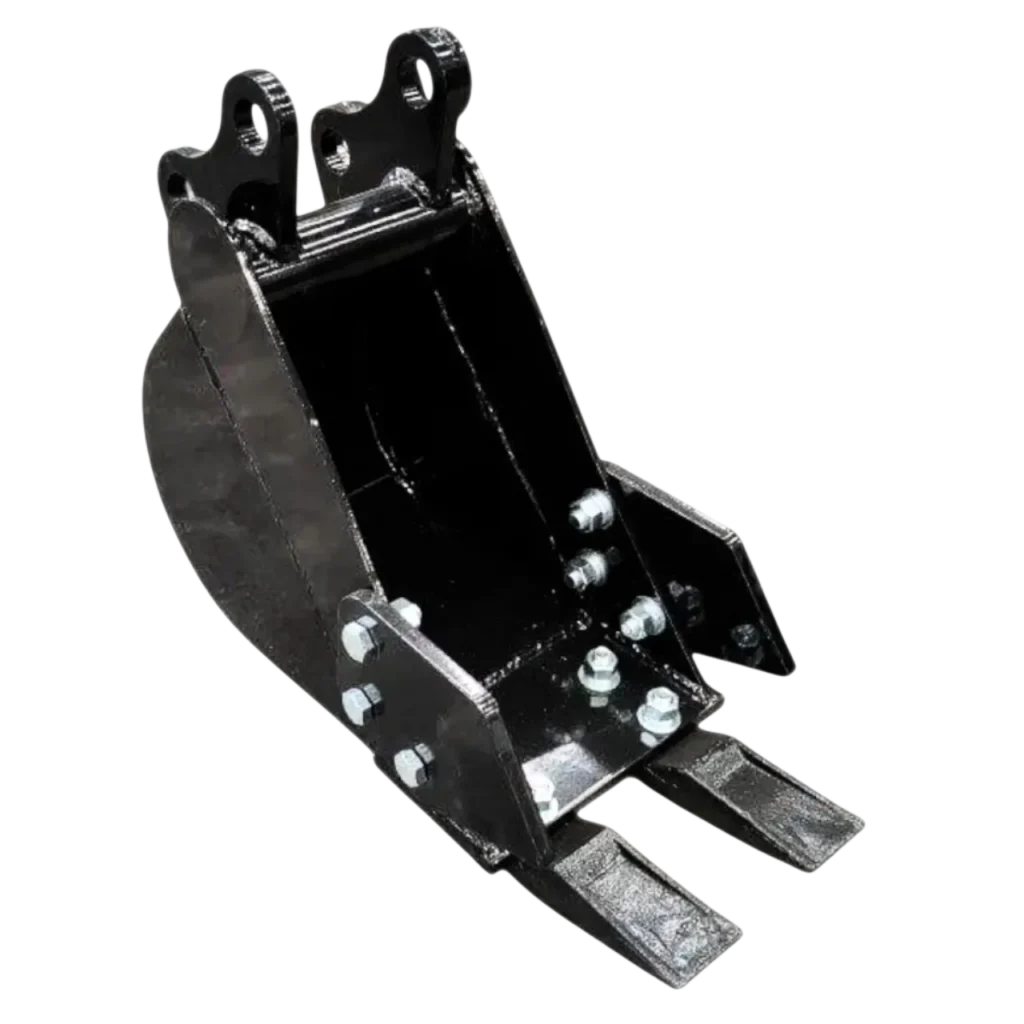
Buckets: narrow, plain, screening and tilting
Buckets are the foundation of a compact excavator setup, but each style solves a different problem. A narrow bucket is about trench width and minimizing unnecessary excavation. A plain or mud-style bucket is useful for general loose material, cleanup and shaping. A screening bucket separates smaller material from larger debris where that workflow makes sense. A tilting bucket adds flexibility for slopes, swales and finish grading because the operator can change the bucket angle instead of repositioning the entire machine as often. The important point is not to call one bucket ‘best.’ A bucket becomes valuable when its width, edge and movement match the material and the finish required by the job.
Auger: turn digging work into controlled drilling
An auger changes the task from scooping soil to drilling a round hole. That makes it attractive for fencing, signs, small footings, tree planting and landscape projects where repeated holes are required. The productivity advantage is strongest when many similar holes are planned because setup time is spread across the whole job. Operators still need to account for soil conditions; roots, rock and very hard ground can change drilling behavior quickly. Hydraulic compatibility matters as well. Confirm the attachment specifications against the machine before purchase, and keep the auger vertical rather than trying to correct a badly angled start under load. For SEO readers searching ‘mini excavator auger,’ the useful answer is not just what it does but when it saves enough labor to justify carrying it.
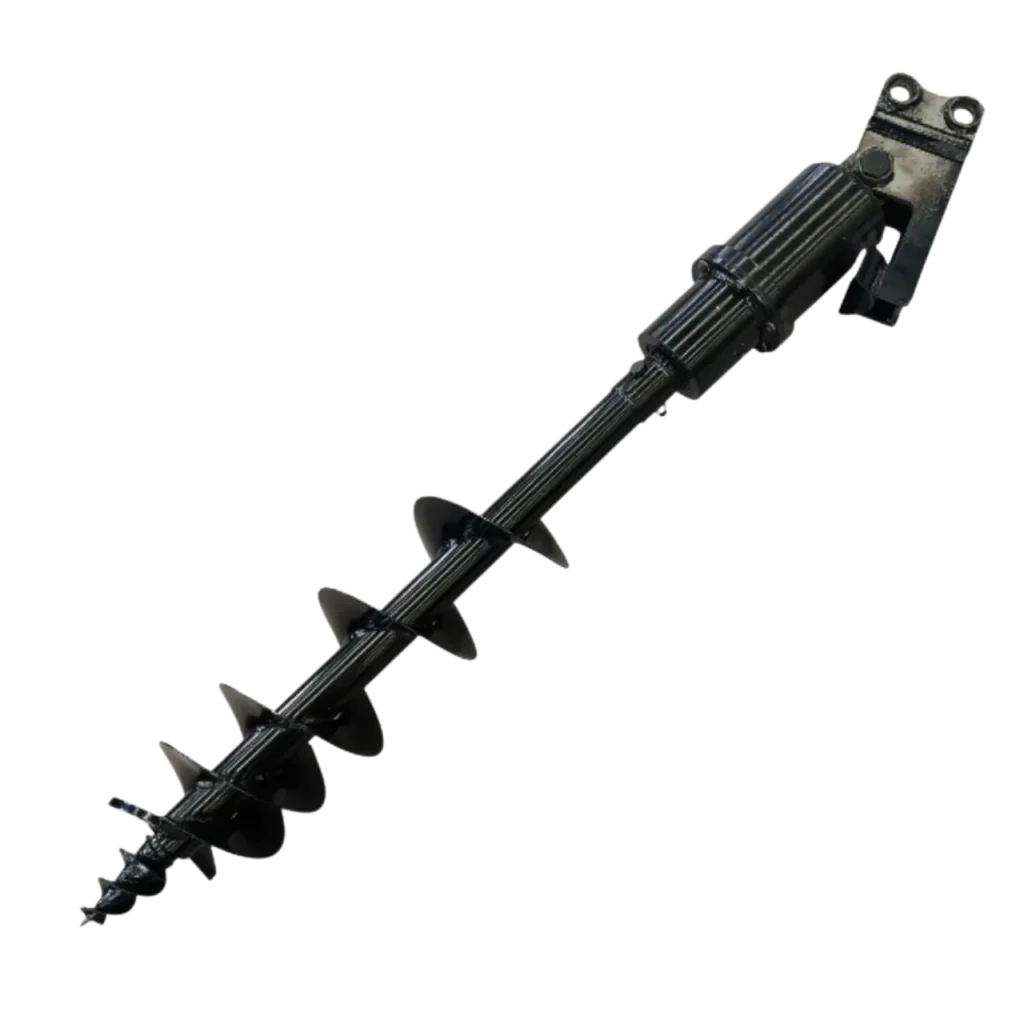
An auger adds drilling capability for post holes, planting holes and similar ground work.
Grapple and pallet fork: material handling with a compact machine
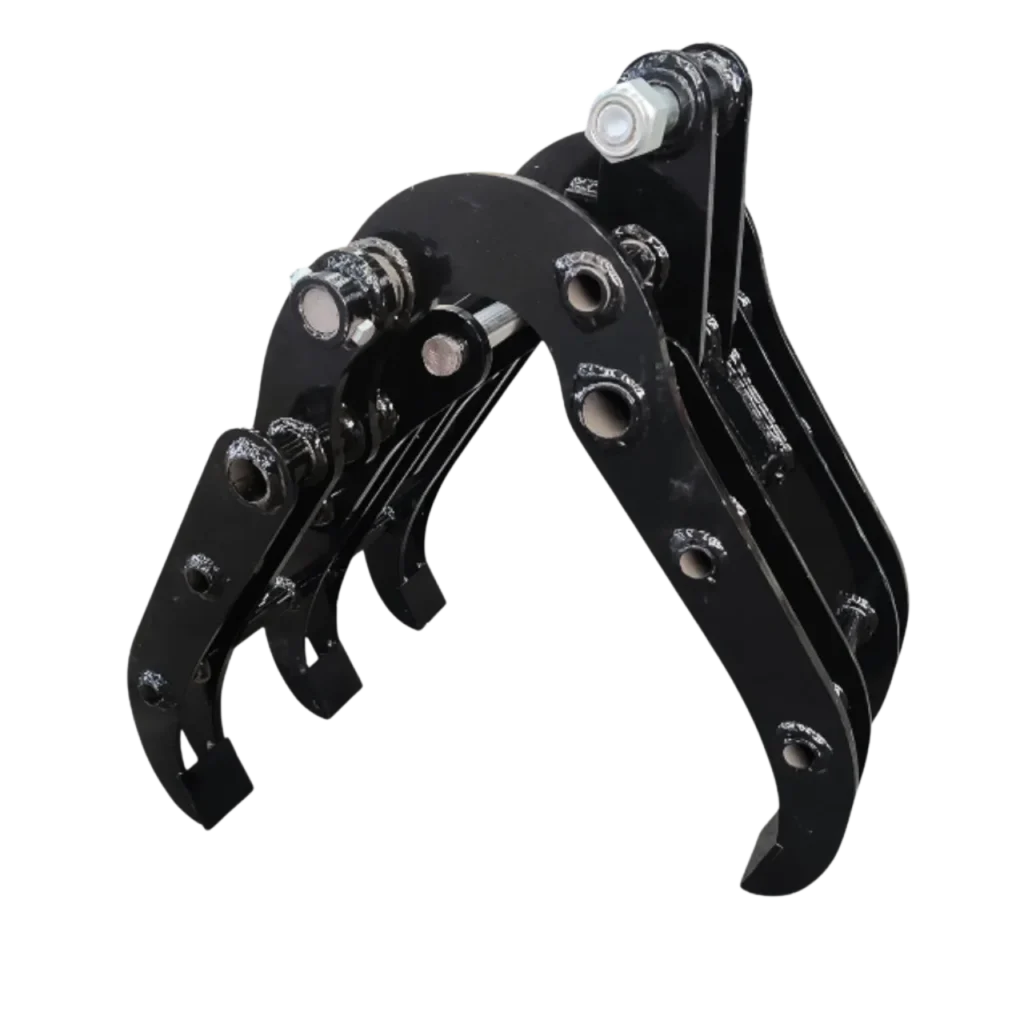
A grapple is for irregular material that does not behave well in a bucket: brush, logs, rocks and jobsite debris. The advantage is control. Instead of balancing an object in a bucket, the operator can secure it with the attachment and place it more deliberately. A pallet-fork attachment serves a different material-handling role by supporting loads from below. Both tools expand the machine beyond excavation, but they should never be treated as a substitute for knowing the machine’s limits. Load stability, center of gravity, terrain and manufacturer guidance matter. If material handling is a major part of the job, plan travel routes before lifting or moving anything and keep operations conservative rather than assuming an attachment changes the base machine’s rated capability.
Hydraulic breaker and ripper: choose impact or concentrated leverage
Hard material requires a different strategy from ordinary digging. A hydraulic breaker uses repeated impact for concrete, asphalt, rock and other brittle material when the attachment and hydraulic system are compatible. A ripper uses a concentrated tooth to penetrate and loosen compacted soil, roots and hard layers before a bucket follows. On many property jobs, the ripper is the simpler first step because it changes stubborn ground into material a bucket can remove. The breaker becomes valuable when the material itself needs to be fractured. Choosing between them is about the material, not which tool appears more aggressive. Using a breaker where ripping would work can add noise and complexity; trying to rip reinforced or thick concrete can waste time and abuse the equipment.
Rake and quick coupler: the attachments that improve the whole workflow
A rake is often most valuable at the end of a job. It can help collect roots, surface debris and loose material while supporting light grading and cleanup. That finishing stage is what turns excavation into a completed site rather than a hole with spoil around it. A quick coupler improves a different part of the workflow: changeover. When a project uses two, three or four attachments, reducing the friction of changing tools can help operators use the correct attachment instead of trying to make the current one do everything. The exact coupling procedure and compatibility must follow the hardware and manuals supplied. Treat the coupler as a productivity system, not as permission to connect any tool that looks close enough to fit.
Build a starter attachment package around frequency
A practical starter package usually covers the most frequent jobs first and specialized work second. For general property maintenance, that may mean a narrow bucket, a general-purpose bucket, a thumb or grapple solution, and a rake. For landscaping, add a tilting bucket when finish grading and slopes justify it. For fencing or planting, prioritize an auger. For demolition or hardscape removal, a breaker becomes more relevant. The best package is the one that spends time on the machine, not the one with the longest list. Review the attachments page, compare your expected jobs, and create a simple ‘used weekly / used monthly / rarely used’ estimate before buying. That exercise turns accessory shopping into an equipment plan.
Practical planning checklist before the machine starts
A useful mini excavator attachments plan can be written on one page before the machine moves. Record the job objective, access route, underground-service status, attachment required for each stage, spoil or material destination, and the point at which the work will be measured or checked. Walk the route and identify soft ground, slopes, overhead hazards, fences and finished surfaces. Decide where attachments will be staged so the operator is not crossing the site simply to change tools. Confirm that the machine and hydraulic attachments are compatible using current manuals. This short planning process reduces the number of decisions made while the excavator is running. It also creates a clearer stopping point if site conditions differ from what was expected. Compact equipment is productive because it can move and change functions quickly, but speed only helps when the sequence is already understood.
How to evaluate productivity without overselling the machine
When evaluating mini excavator attachments, measure productivity in complete-job terms rather than bucket cycles. A fast excavation that creates excess spoil, blocks access or requires extensive hand cleanup may not be efficient. A smaller bucket may appear slower but reduce backfill and restoration. A dedicated attachment may complete one stage quickly but create changeover time if the project constantly alternates functions. Track how many times material is handled, how often the machine is repositioned, and whether the correct attachment is used for each stage. This approach produces more realistic ownership decisions than assuming the biggest tool or fastest digging motion is automatically best. It also helps identify which attachment deserves to be purchased next: the one that removes a repeated bottleneck in the workflow, not necessarily the one that looks most impressive in a product photograph.
TERROR XI STORM as a compact reference point
For the TYPHON TERROR XI STORM, the verified machine details used in this article are an approximately 2,425 lb compact machine class, a 13.5 HP Briggs & Stratton engine, an approximately 5 ft 4 in digging depth, approximately 1,619 lbf of bucket force, a 15.7 in (400 mm) bucket, hydraulic thumb, hydraulic oil cooler, canopy, toolbox, digital manual, and boom-swing capability. These figures describe the machine itself; actual job performance still depends on soil, attachment choice, operator technique, site slope, weather, and safe operating practices.
Safety and compatibility notes
Before digging, confirm underground utility locations and follow local permit, excavation, and jobsite rules. Never use an attachment simply because it can be pinned to the machine. Hydraulic attachments must be compatible with the excavator’s hydraulic system and mounting arrangement, and the operator should follow the manuals supplied with the machine and attachment. If a task involves lifting, unstable slopes, overhead hazards, buried services, or demolition, treat those as separate planning questions rather than assuming a compact excavator can perform them safely.
Where to continue your research
Minexcavator.com is structured so a reader can move from research to a machine-specific decision. The equipment page presents the TERROR XI STORM itself; the attachments page organizes available tools; the application library connects tools to jobs; and the gallery provides additional machine views. That path is useful for buyers because it keeps the decision focused on the work instead of turning the article into a list of accessories without context.
Frequently Asked Questions
What mini excavator attachment should I buy first?
Start with the attachment that solves the job you perform most often. For many owners that is a digging or trenching bucket, while material-handling users may value a thumb or grapple earlier.
Do all mini excavator attachments fit every mini excavator?
No. Mounting geometry is only one part of compatibility. Hydraulic tools also need suitable flow, pressure and plumbing, so confirm the machine and attachment specifications before use.
Is a quick coupler worth adding?
It becomes more valuable as the number of attachment changes per job increases. If you routinely switch between bucket, auger, grapple or other tools, easier changeovers can improve the workflow.
Which attachments are best for landscaping?
Common landscaping tools include a digging bucket, narrow bucket, tilting or grading-style bucket, rake, auger and grapple. The best mix depends on the actual services you perform.
Conclusion
The best way to use this mini excavator attachments guide is to convert the information into a job list. Identify the work that repeats, choose the attachment or feature that removes the biggest bottleneck, and verify the machine specifications before committing to the setup. The TERROR XI STORM is a compact platform, so its strongest value is in jobs where access, precision and attachment versatility matter. Review the equipment, attachment and application resources together, then contact support when a compatibility or configuration question cannot be answered from the published specifications. That process creates better buying decisions and better job planning than choosing equipment from a single headline number.